

How to Paint Crispy Clean & Straight Lines for Trim (Beginner Guide for Homeowners)
Because there’s something about feeling like your visitors are staring at how messy your cut-ins are.
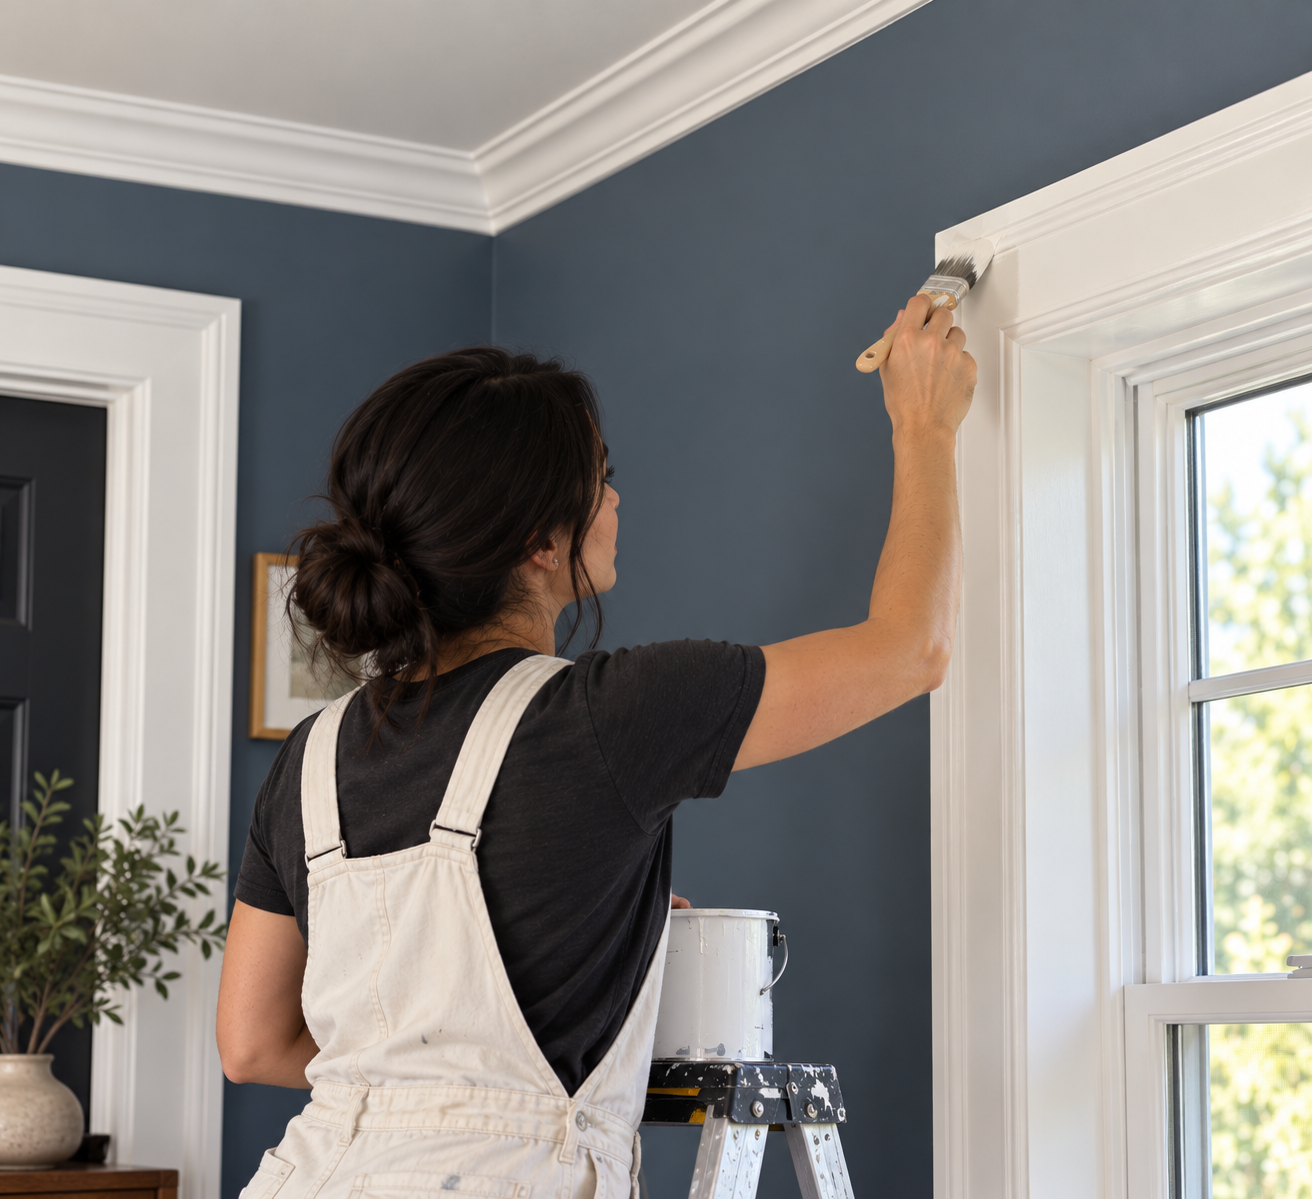
Today I was doing a dining room refresh where there was chair rail moulding that required a crispy paint job. I used one technique for the trim and one technique for the chair rail moulding.
Naturally, I felt inspired to share when you’d use which technique, and also how to master the technique (or at least feel like your guests aren’t staring at how messy the lines are).
I’ve painted so many walls at this point that I’m surprised I haven’t written about it yet. I might be a Home Color Expert, but painting is how I fell in love with color.
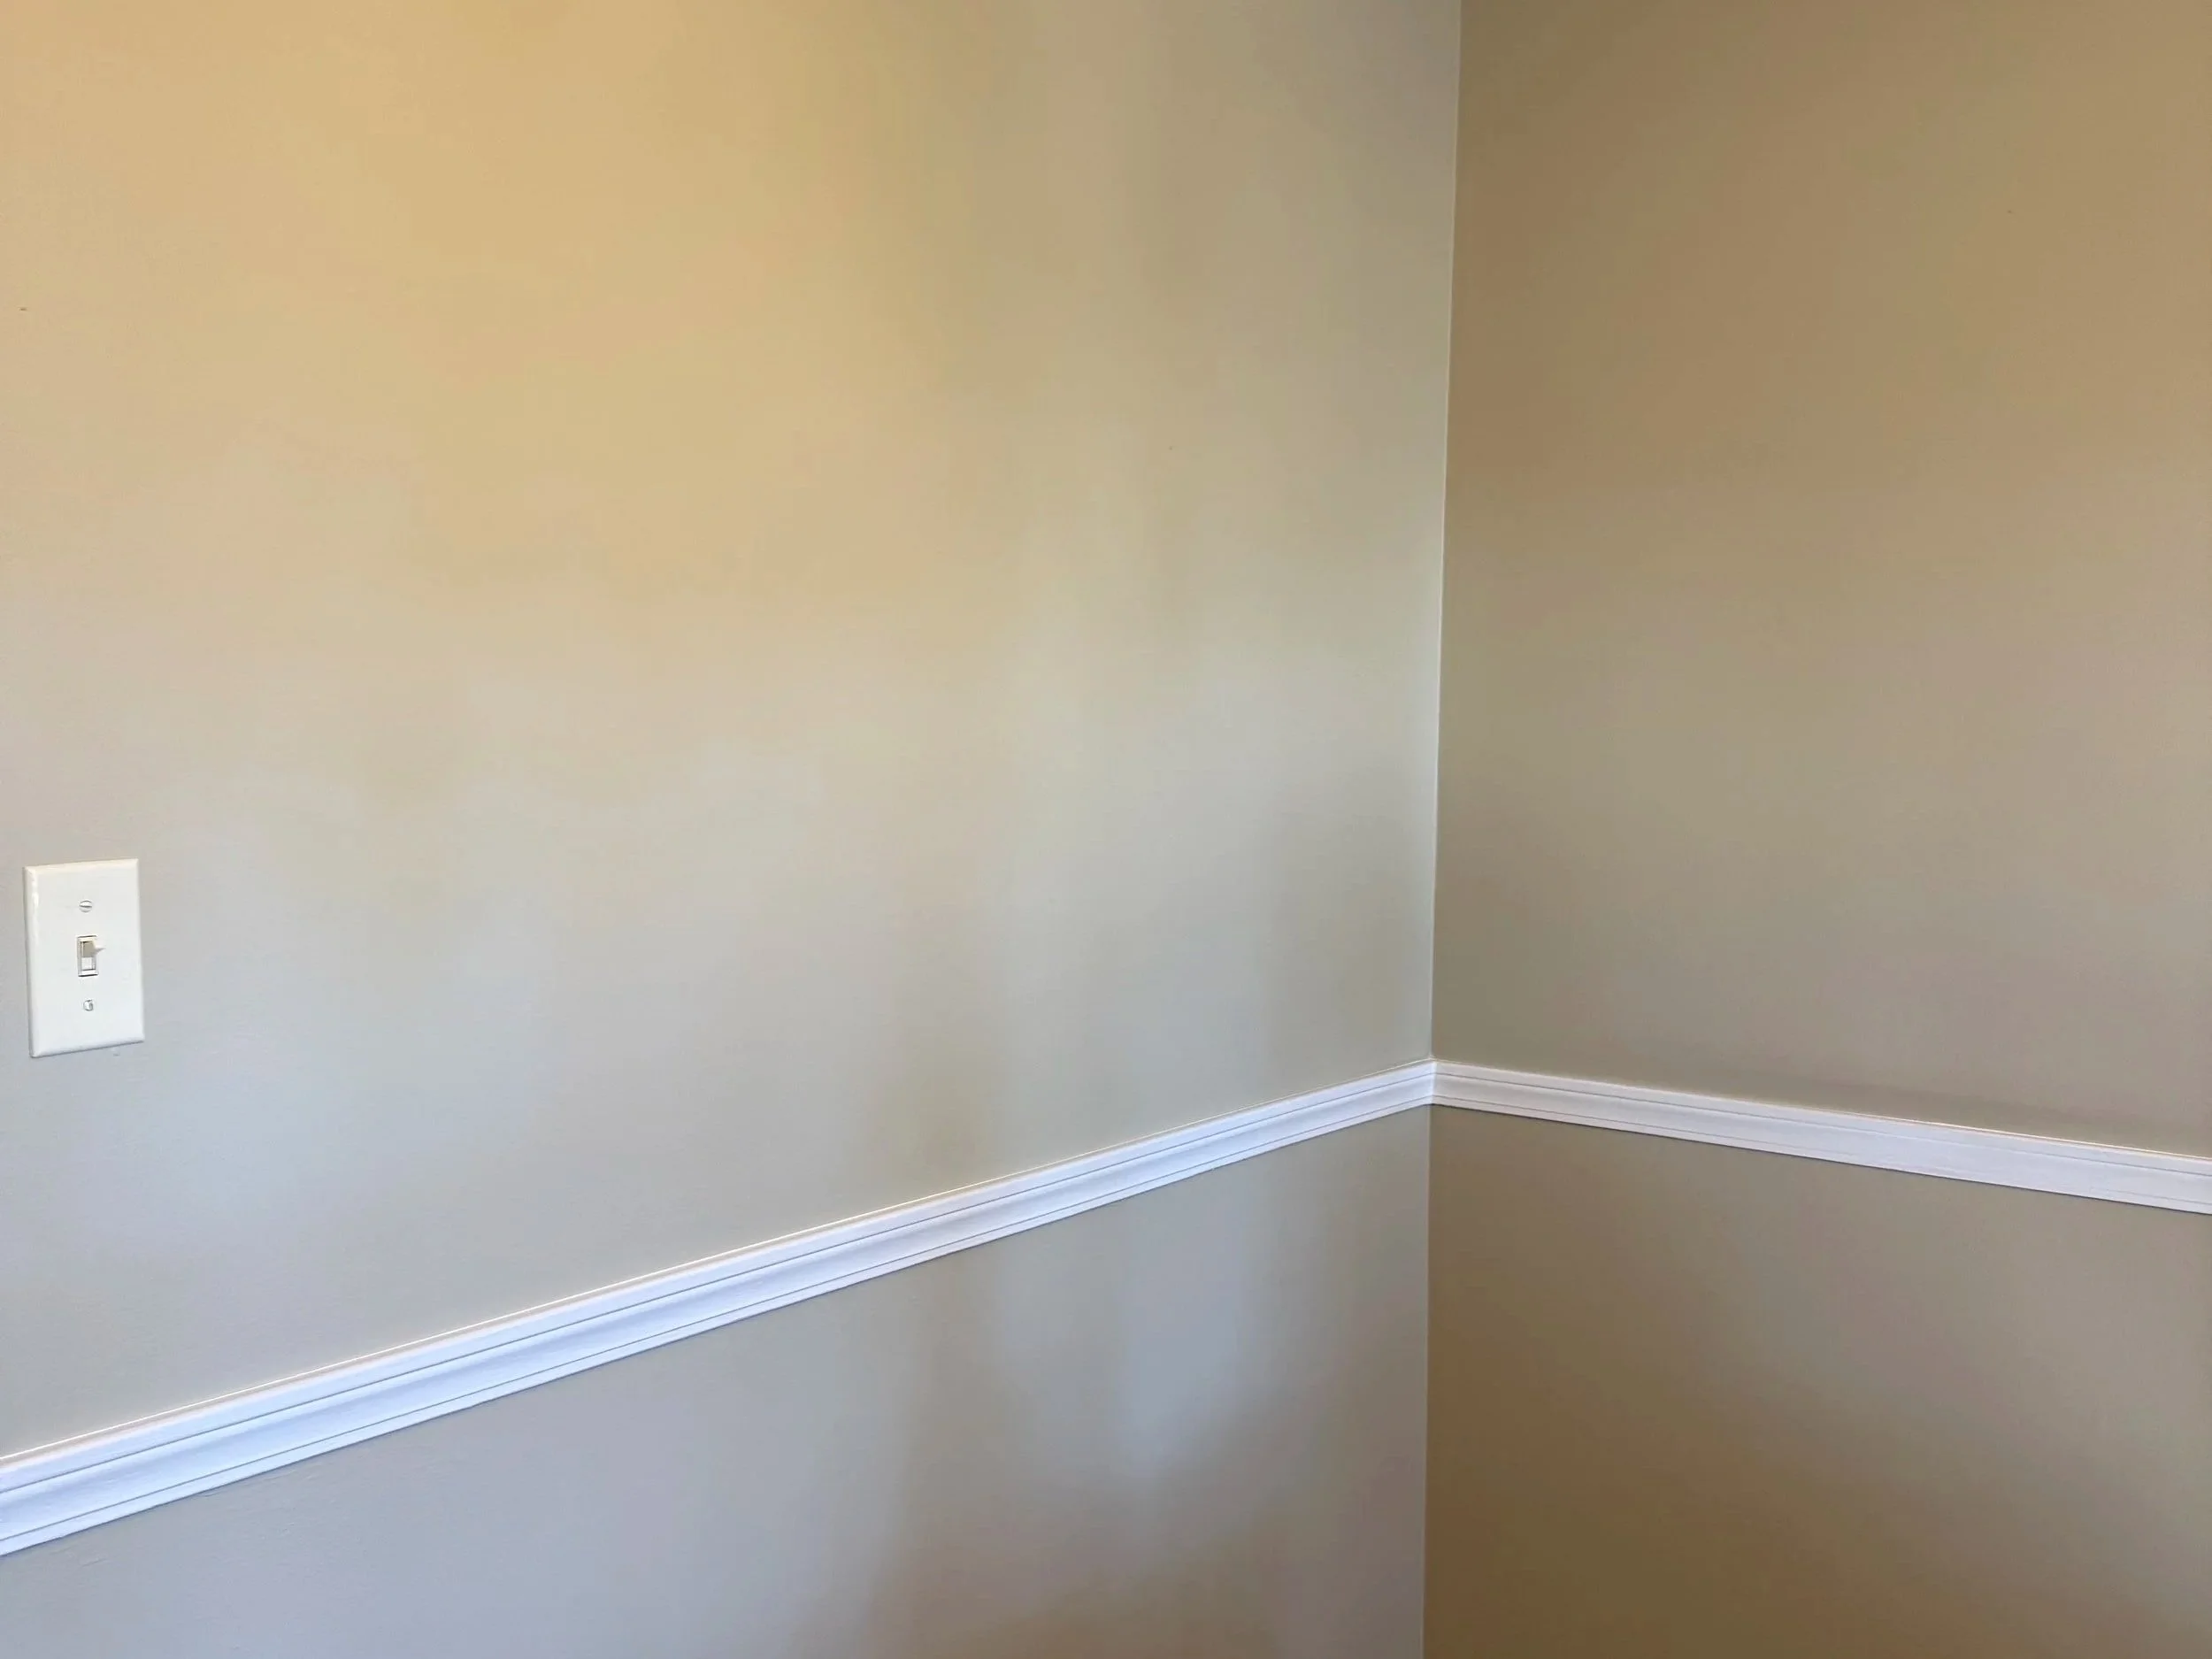
A colonial-inspired dining room with crispy white trim. Color is Relaxed Khaki SW6149 (a mid-tone beige with green undertones)
Like you, I too am obsessed with those videos where they do the crispy-line reveal after using painter’s tape. It’s soooo satisfying.
So here’s my attempt I did during this project to enjoy before we dive in! (I’m not really a social media girly but I hope this brings you joy and is equally satisfying as the ones on Tiktok and Youtube).
So when to use painter tape and when to use a trim brush?
Honestly, this is personal preference but I would say you always want to use painters tape when:
1) You need really clean lines like picture moulding or chair rail moulding and;
2) The moulding is a statement (so people are always looking at it) and;
3) When the contrast between the trim and wall color is high.
The more contrast, the easier it is to see how clean or messy the lines are.
For me personally, I almost never use painters tape for trim that runs along the floor because our eyes never go there by default so I’m not going to spend all that time lining the floors with tape. (I often color drench dark spaces so contrast in this case isn’t an issue.)
You can and will get amazing results with the right trim brush and patience.
I now exclusively use an angled Wooster or Purdy’s brush after learning that if you want clean lines, you need to buy a GOOD BRUSH. Not all paint brushes are made equal…I promise you.
Don’t convince yourself that the brush that’s $3 less than the Pro brushes are equally as good.
They’re NOT!
I’m not sponsored by Purdy or Wooster, I’ve just been burned and they’re the only ones who come through every single time! (Please, Wooster or Purdy…call me!)
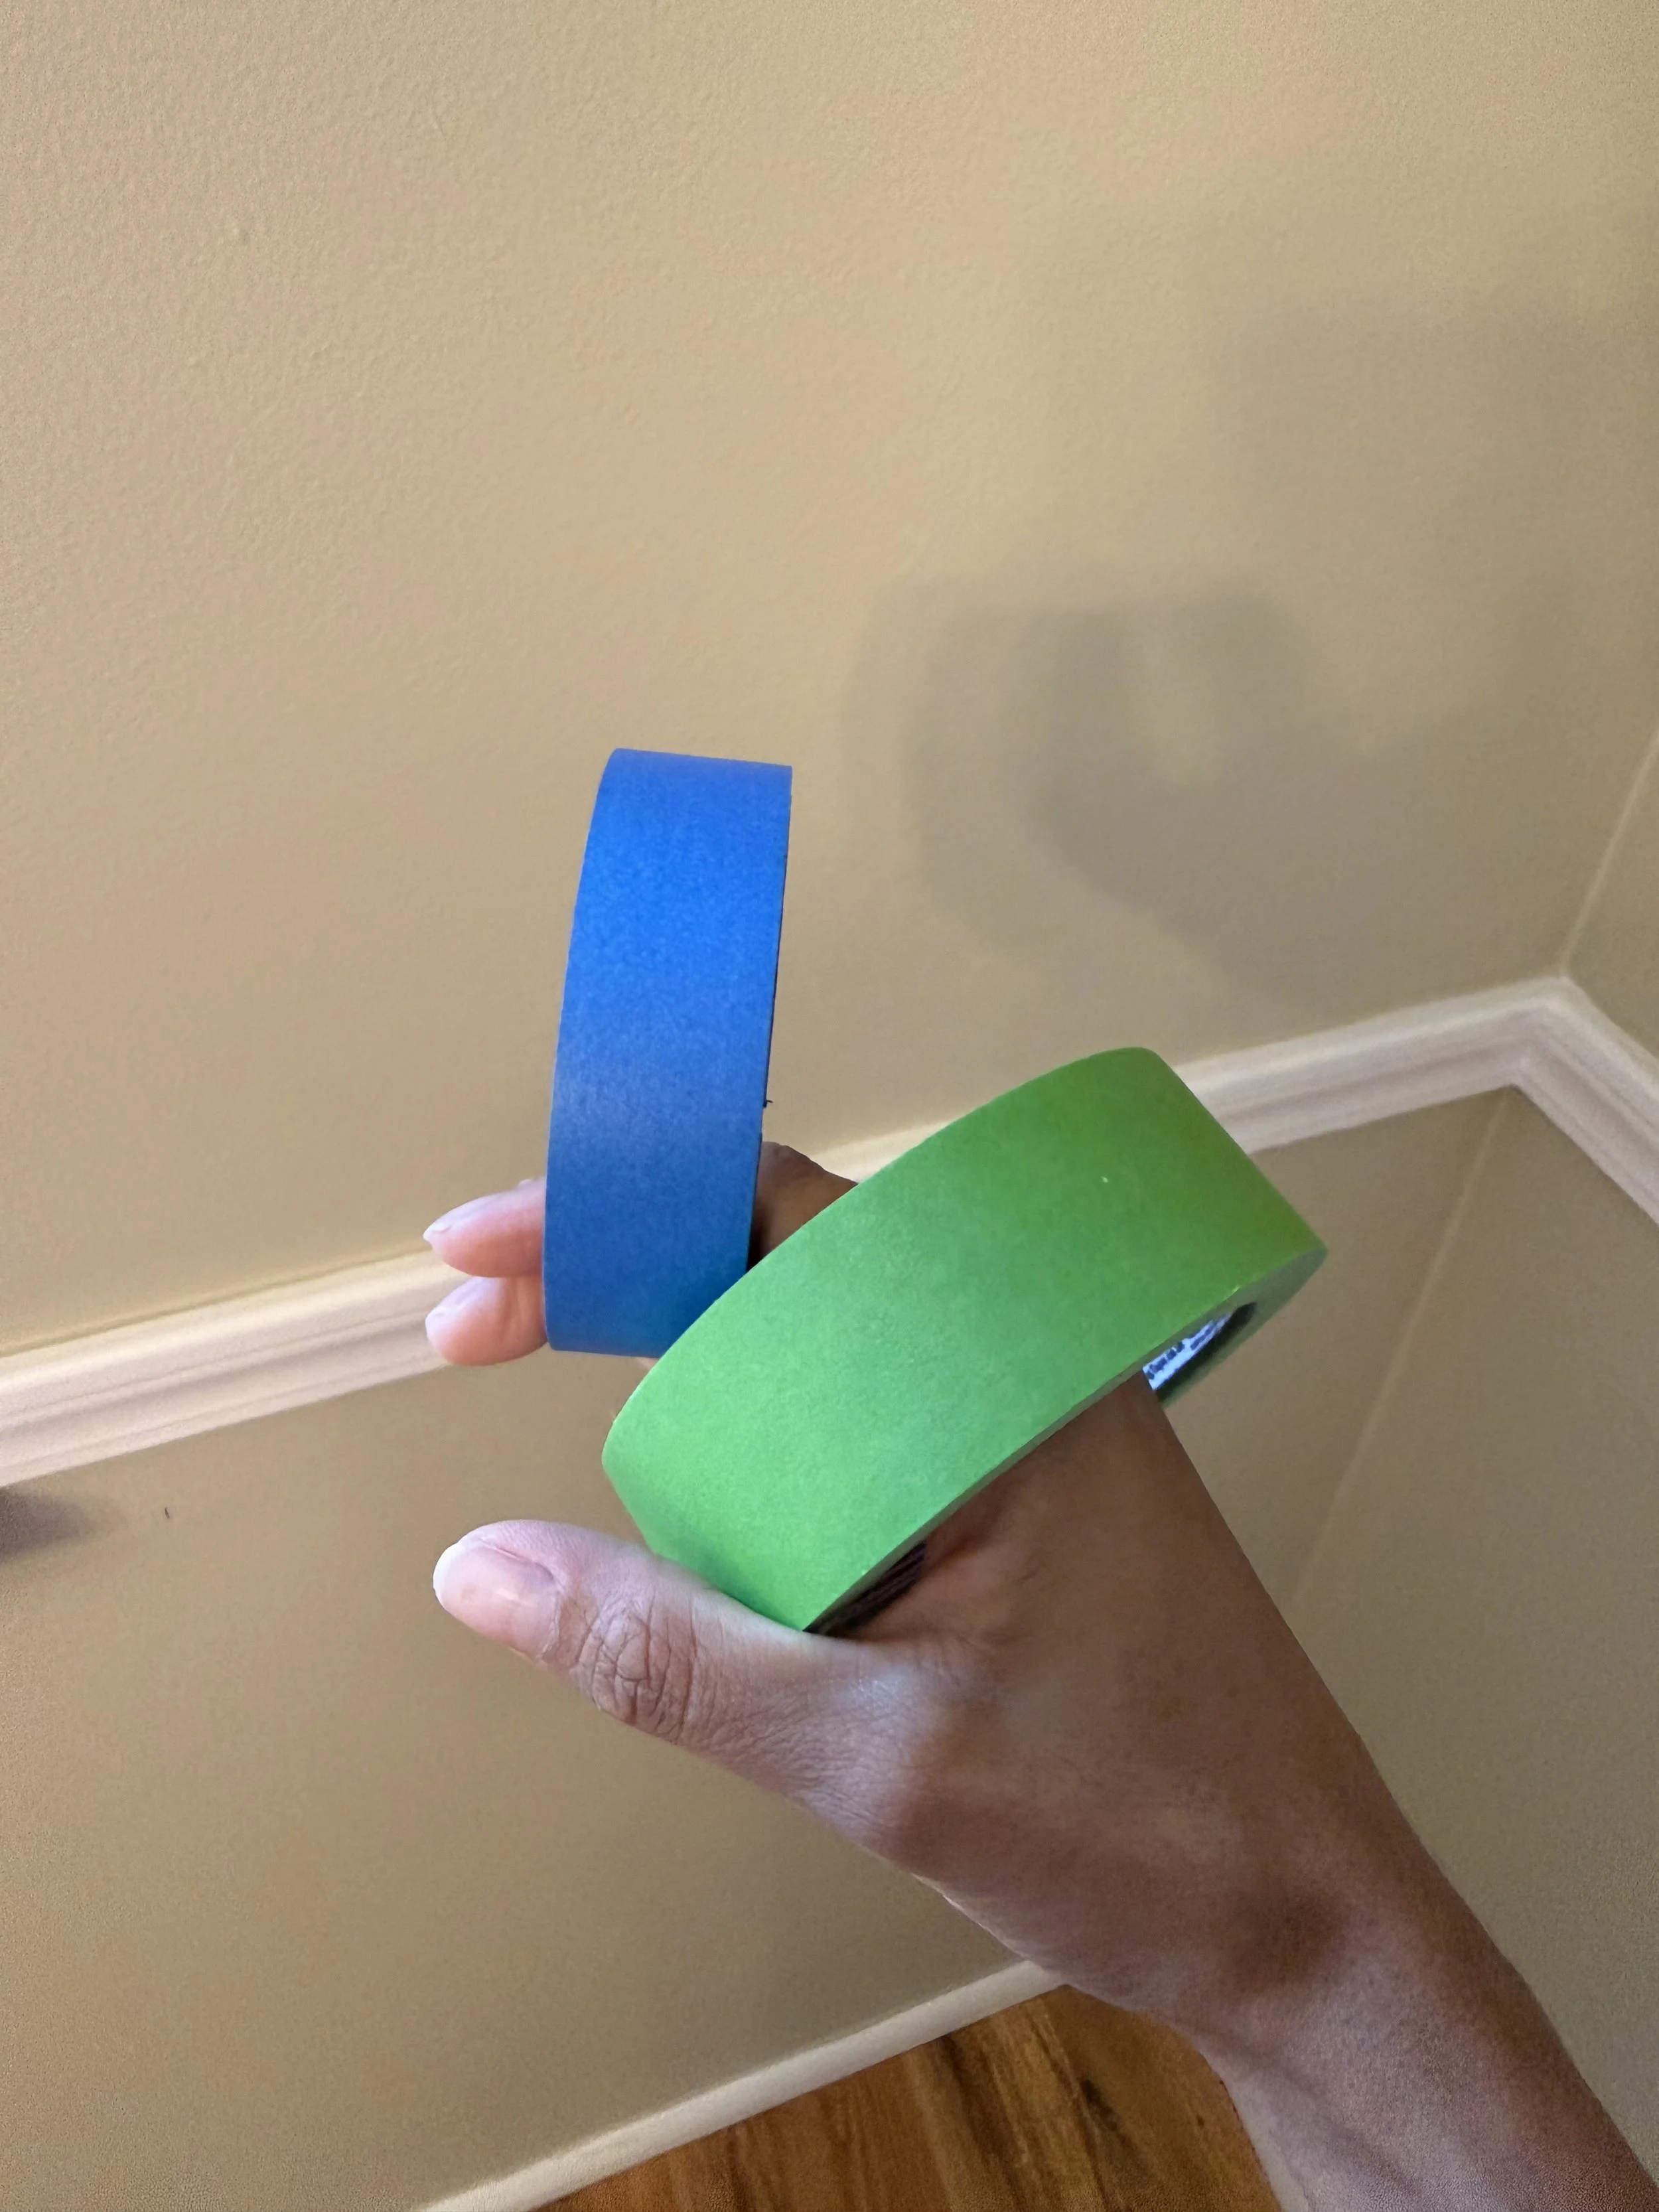
I always get asked: when to use the blue and green tape?
Blue tape is for when you’re needing to apply it to recently painted jobs (if you’re doing a paint job in one day or weekend) and the green tape is for jobs where the wall paint you’re placing it on has cured (7-30 days).
Here’s a video of me free-handing the trim so you can see the results if you take your time. (Keep in mind I am literally holding the camera with my other hand).
But ultimately, the choice is yours. If you’re not confident that you can free-hand and feel like you can live with those results, then use painter’s tape.
If you feel like you don’t want to waste time lining the tape perfectly or have some ADHD tendencies (like yours truly) then buy a good quality brush and watch yourself be amazed!
The big question - do you paint the trim or the walls first?
Something I see in the comment section of professional painters’ videos goes something like this: I’ll try to paint the trim, get some on the walls, then patch that part of the walls, but then that paint leaks back onto the trim, and then it becomes a never ending flywheel.
So here’s the quick and dirty on the situation because it depends if you’re using painter’s tape or a trim brush
For trim along the floor, paint the walls first, then use a trim brush to paint the trim. It’s an easier angle usually to get a straight line.
But if you’re using painter’s tape, paint the trim first, wait for it to cure, and then put tape along the trim so you can do the wall paint super clean.
If you’re doing chair rail moulding like me, I did the wall first and then used painters tape on the wall on both sides of it.
If you’re doing crown moulding, paint that first, then go in with your trim brush and cut the wall color underneath for a clean line. But if you’re using painter’s tape, then do the wall first, wait for it to dry and then use painters tape on the wall side of the crown moulding to get a clean line.
I really hope this makes sense without me doing a video.
Most importantly, choose any method that actually feels intuitive for you though. There’s no one-size-fits-all-method. This was just me sharing my take.
Everyone has their process, but the key is to not get stuck in that flywheel I mentioned of constantly correcting yourself when you paint outside the lines. (Which, I know, happens a lot!)
—
If you’re on Seattle’s Eastside and need help picking paint colors for your home, book a discovery call with me today.

Hi! I’m Nancy!
And I’m here to help you choose paint colors for your home without all the stress. If you’re in the Seattle area, you can book an in-home color consultation with me.